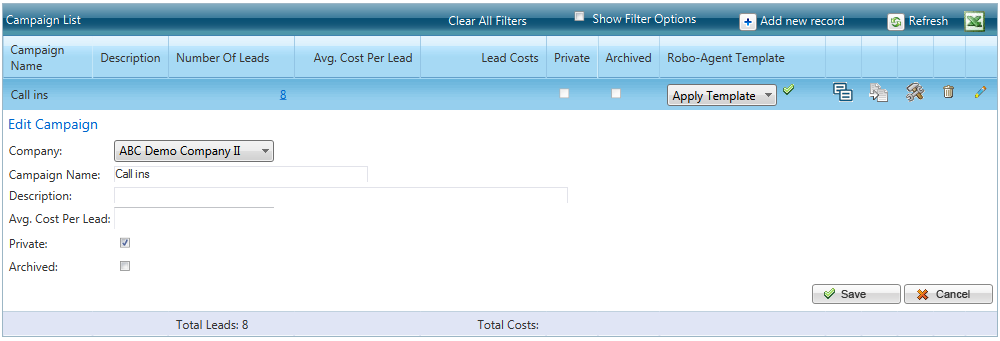
Blitz Lead Manager’s privacy settings allows administrators to restrict users’ access to certain campaigns. This is commonly used for multiple offices using one account, restricting users from viewing each other’s prospects, hiding a campaign until ready to launch, or keeping a personal contacts campaign private from staff.
Individual users are also able to make their calendar private. This prevents other users from viewing their schedule within Blitz Lead Manager’s web based software.
Setting up Private Campaigns
- Go to Administration > Manage Campaigns.
- To:
A) Create a new campaign, click +Add New Record in the dark blue bar. Type a name for the campaign, select “Private” to enable privacy settings, and click “Save.”
B) Apply privacy settings to an existing campaign, click the edit pencil to the right of the campaign. Select “Private” and click “Save.”
- After the campaign has been made private, click the “Campaign Settings” icon to the right of the campaign.
- Click the “Privacy Settings” tab. Choose the users you would like to grant access to the campaign, and click “Save Users” on the top right.
Making a User’s Calendar Private
Click on the My Profile tab within Blitz Lead Manager. Within the “Schedule Settings” section, click the check box next to “Private Schedule.” Click “Save” on the bottom right.


